
Digital Marquette


1 min Warm up drawings

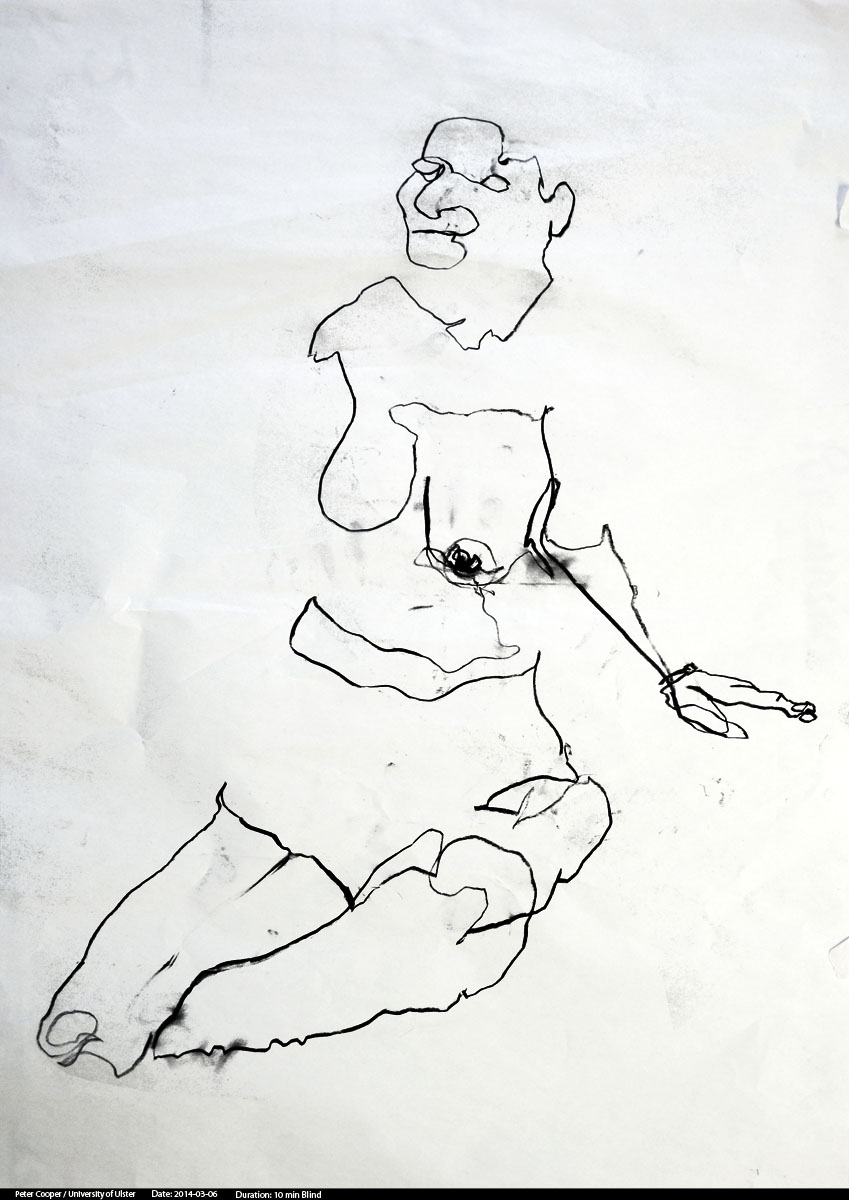
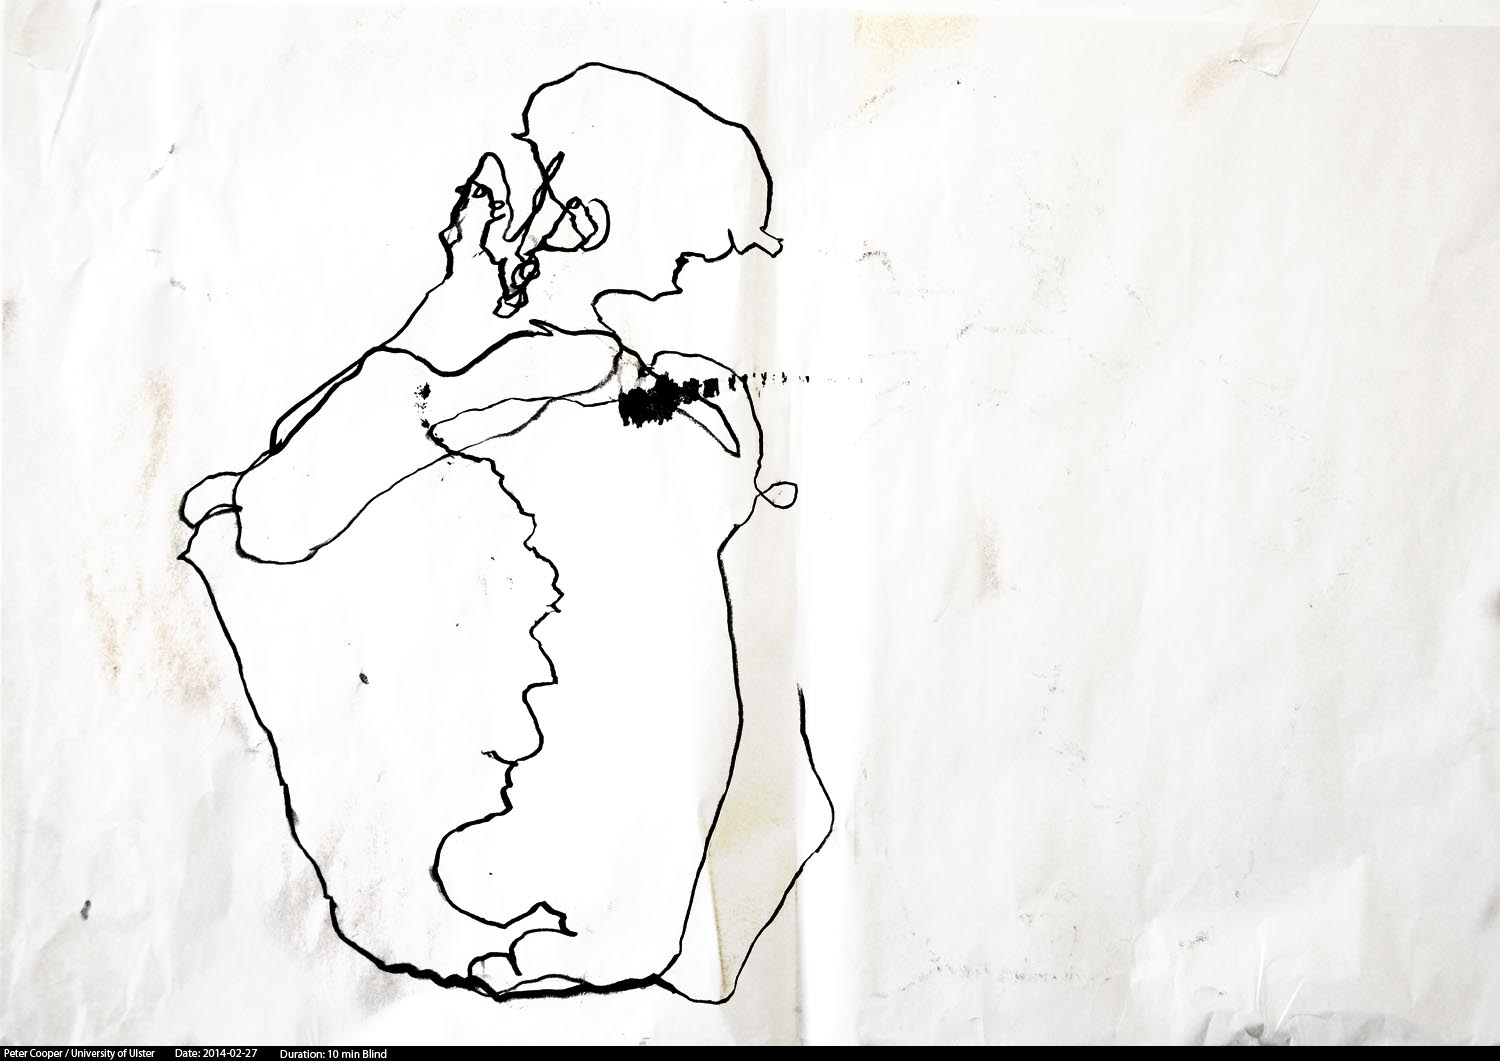
10 min blind drawing
30 min sustained

30 min sustained

Warmup of 1 minutes each

Warmup: 1 min, Ink

Blind drawing for 10min
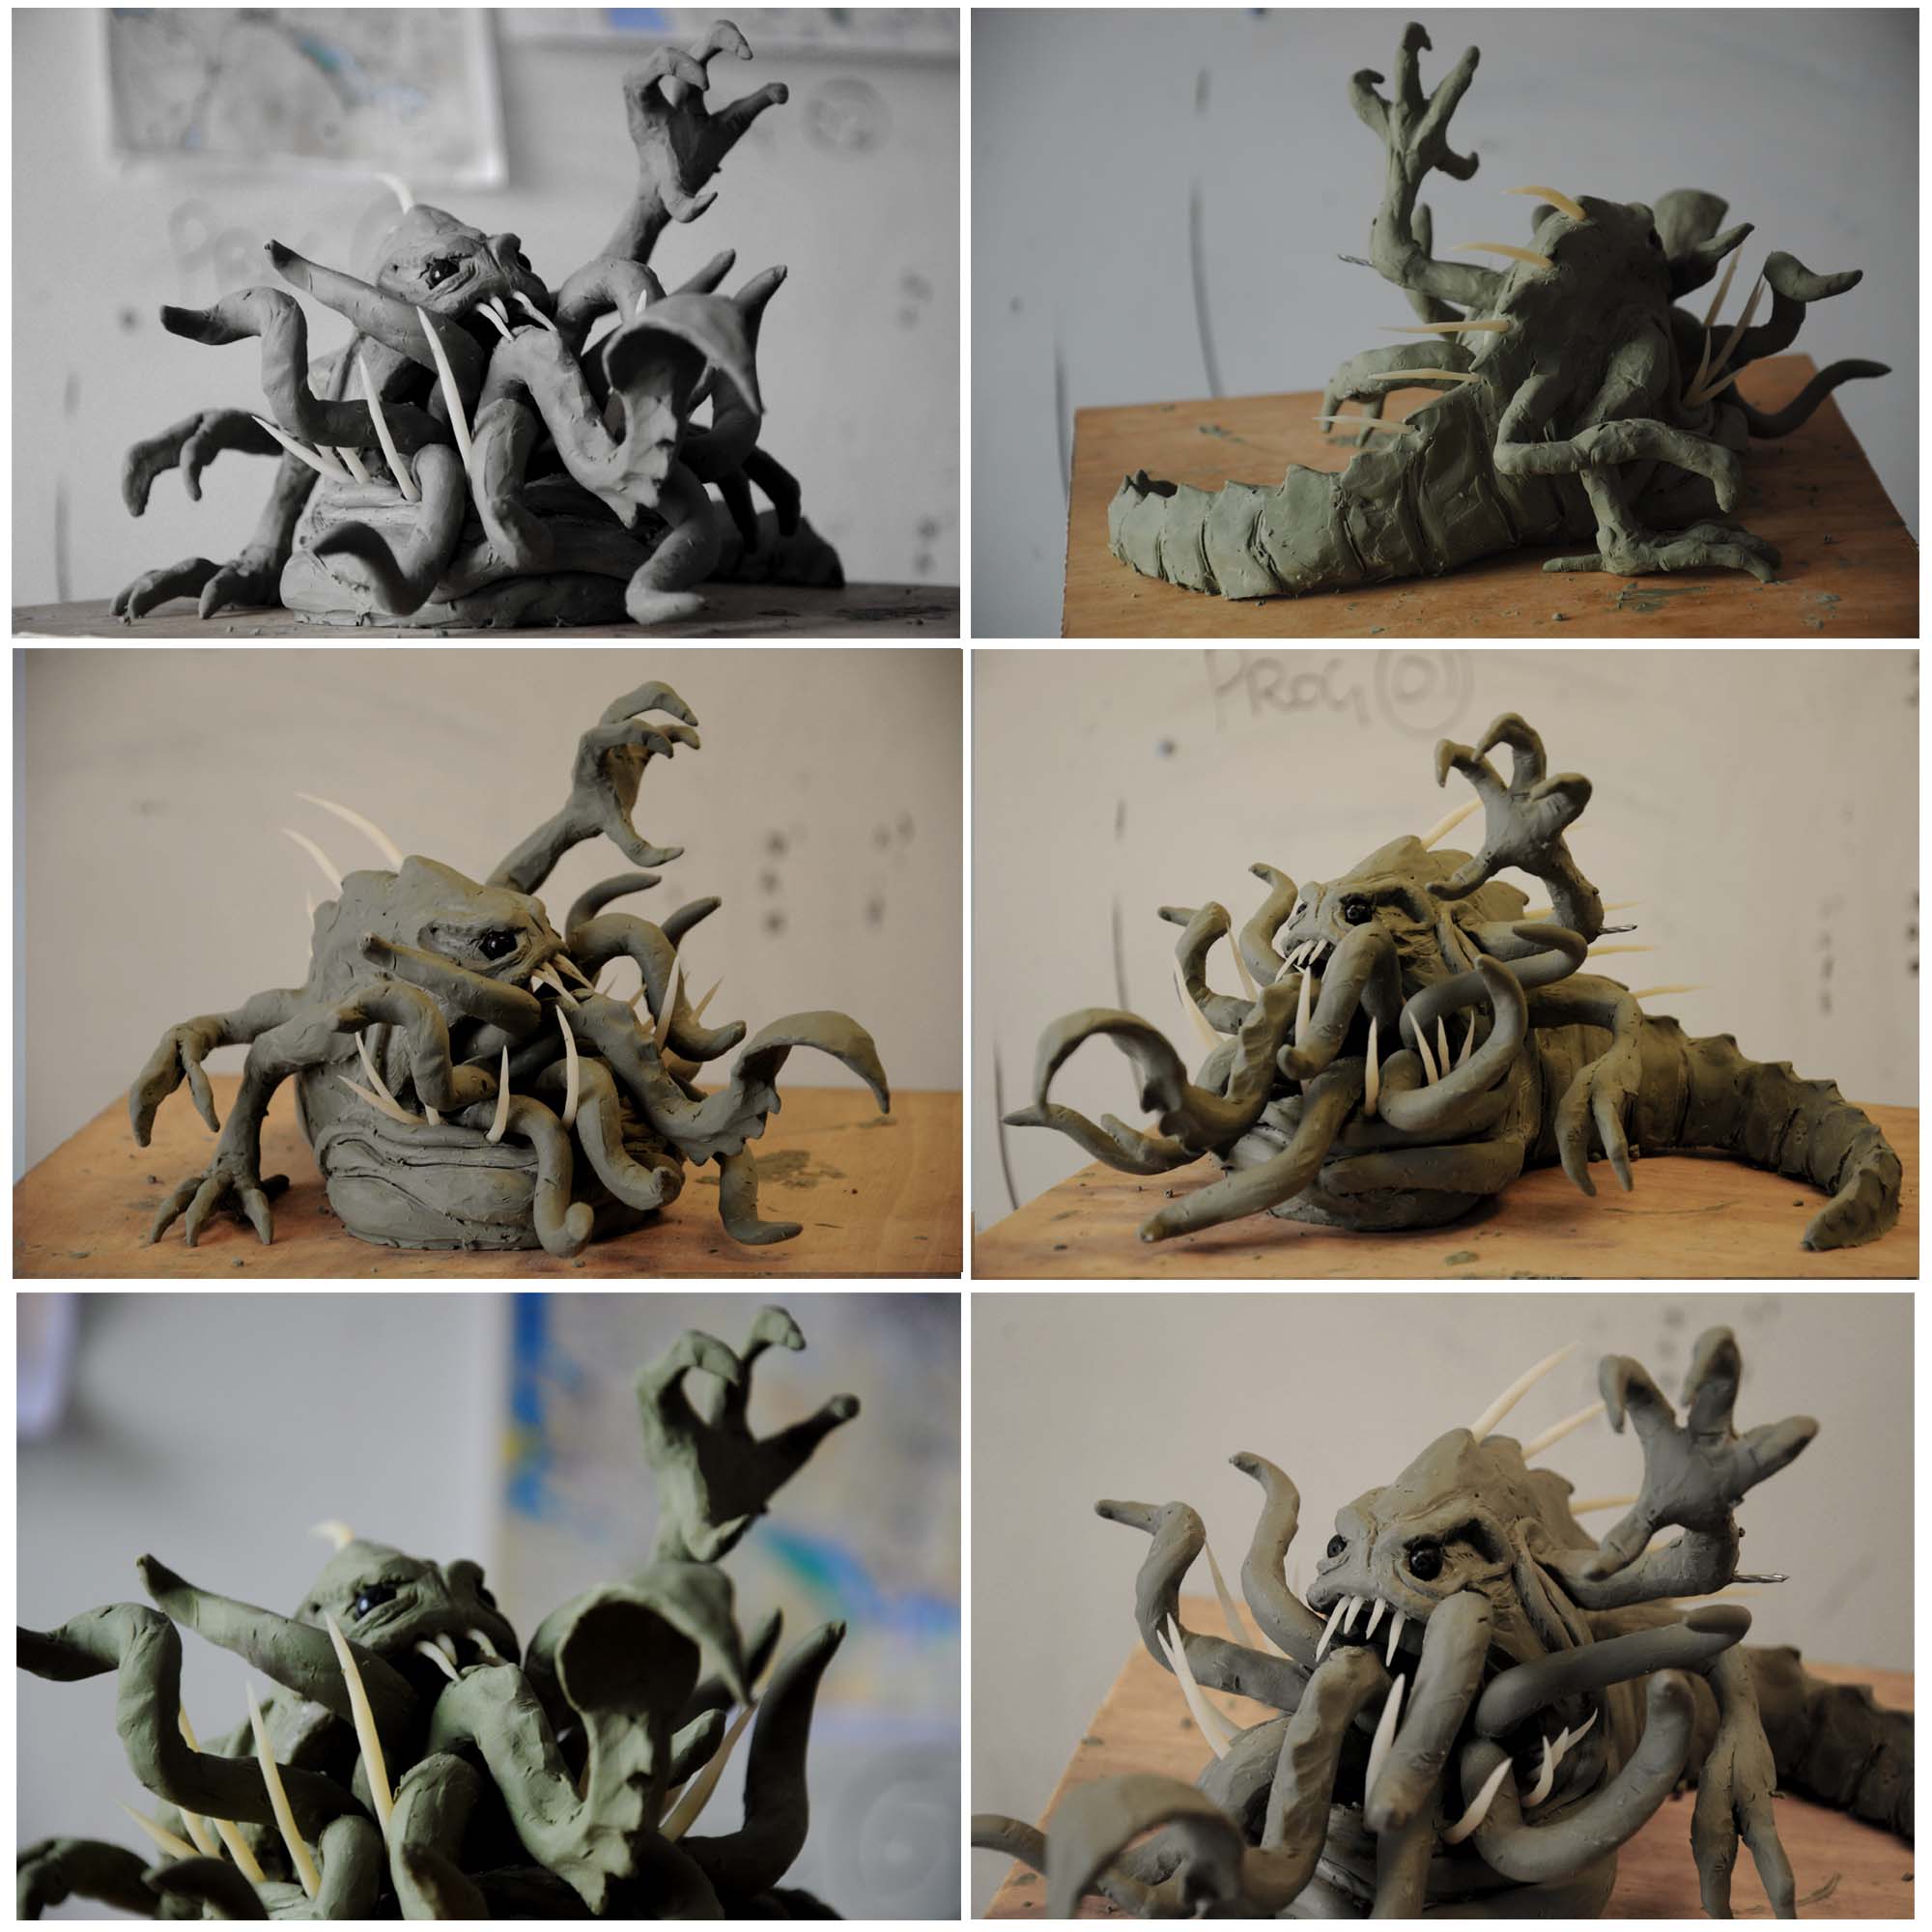
In conjunction with the drawings, I attempted a quick sculpt of the creature in clay. This was a practice exercise (any excuse) to get back into using Chavant.

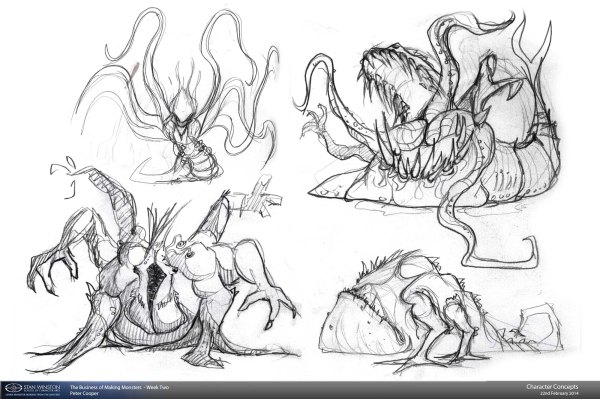
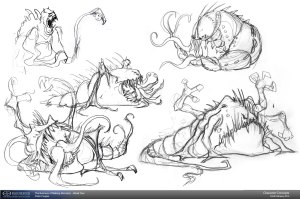
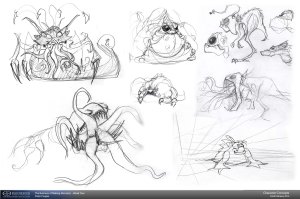
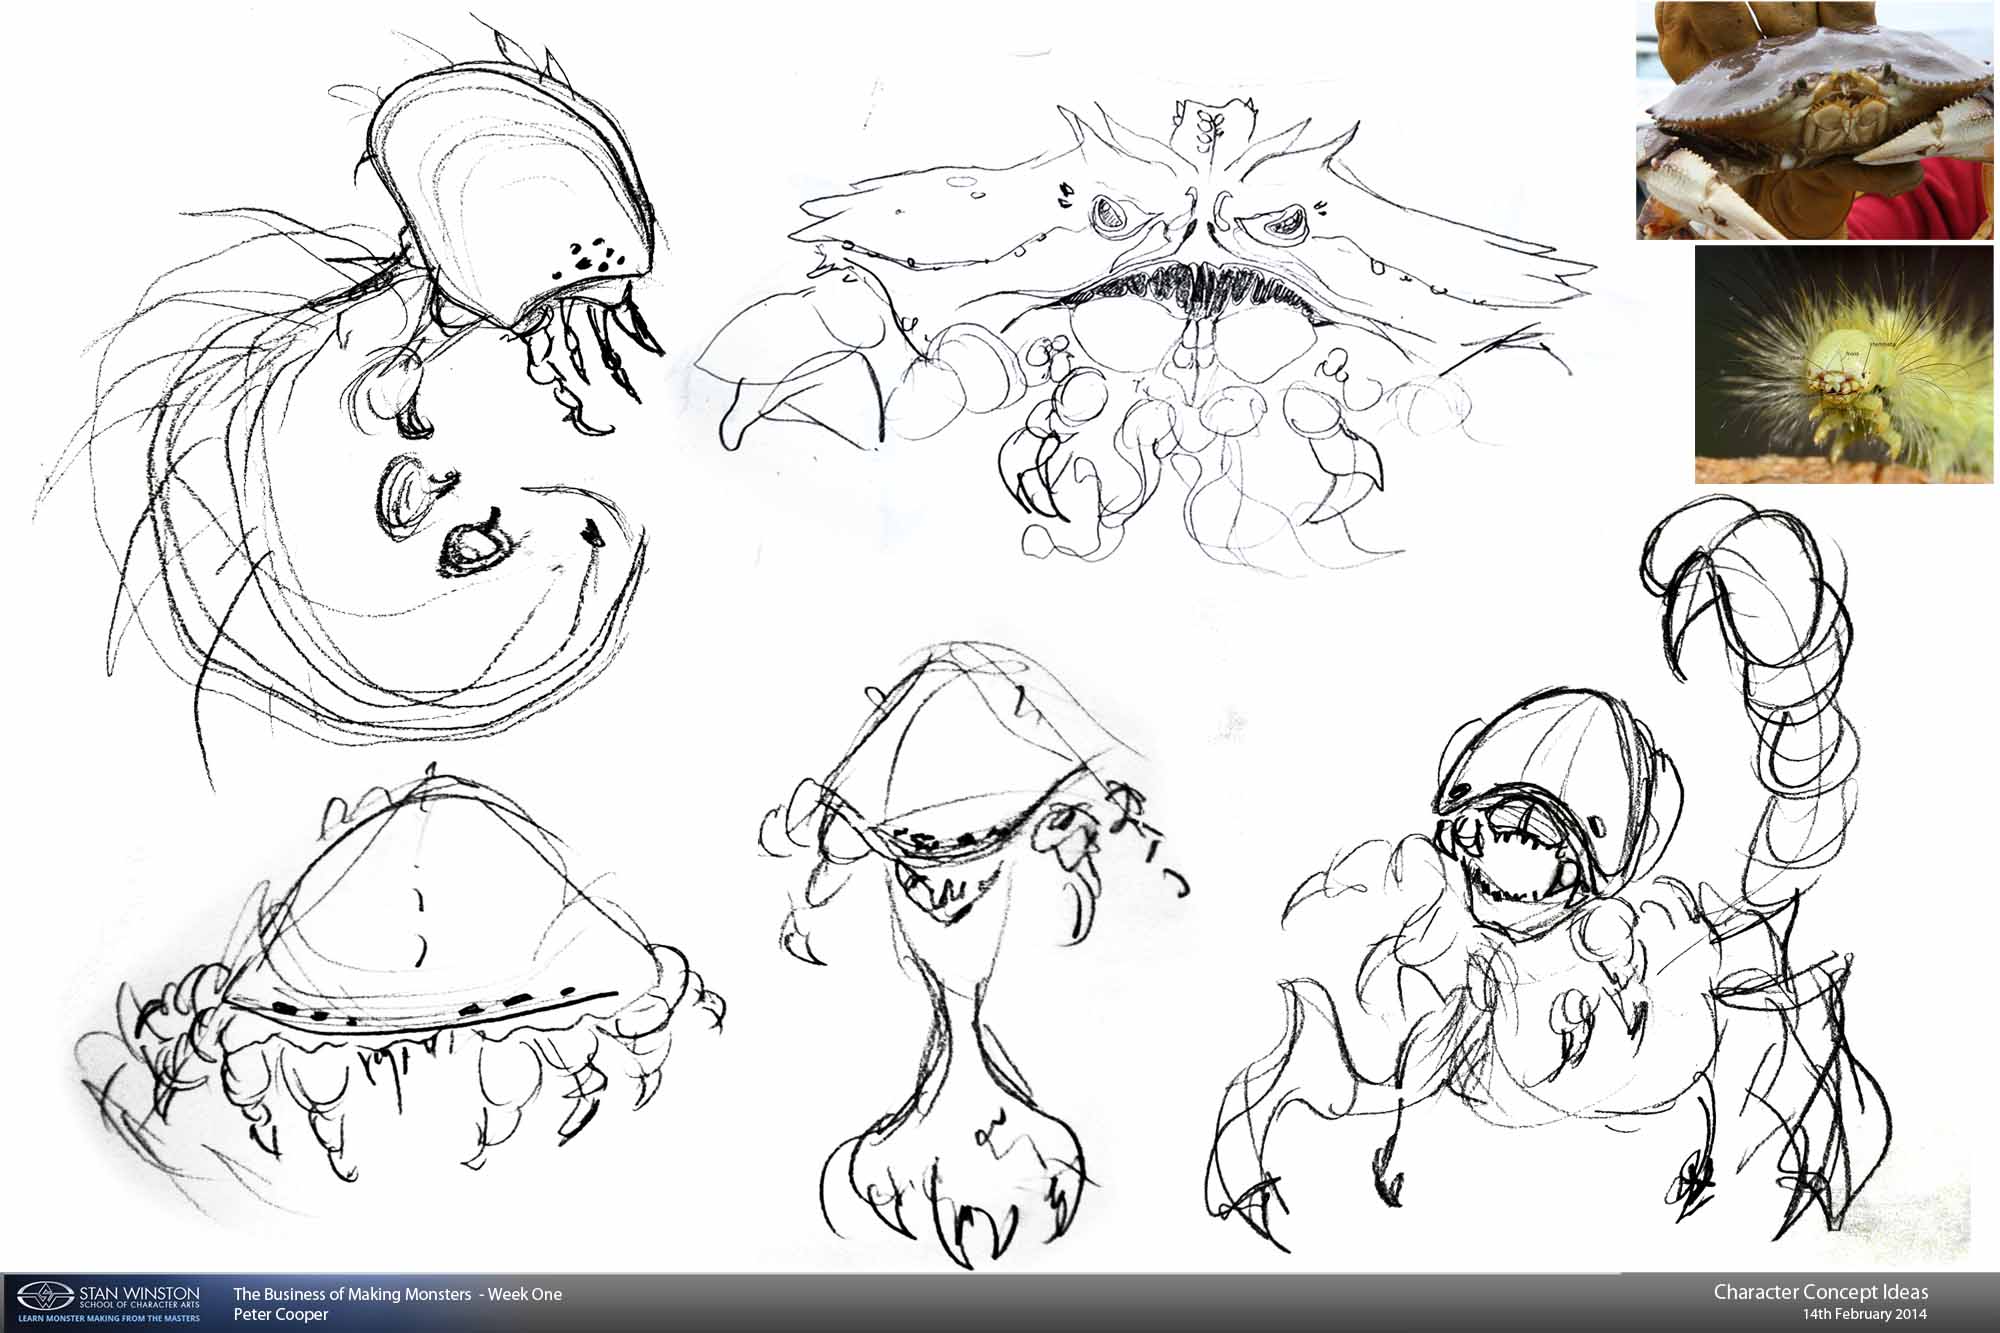
Had a blast working through a concept design for our assignment. The script describes a creature, that has tentacles, at least one hero tentacle that drags in a human person, a huge gaw that chews and mutilates people and that it can be seen slithering among the pipes and bulkheads overhead. IN essence, a very cool script description to design for ! Thanks Shannon! Below are some of the character ideas I’ve been playing with. I’ve been influenced by viper fish and angler fish especially… oh and isopods!
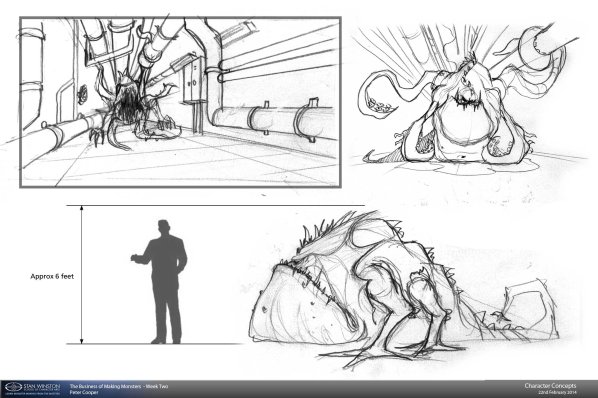
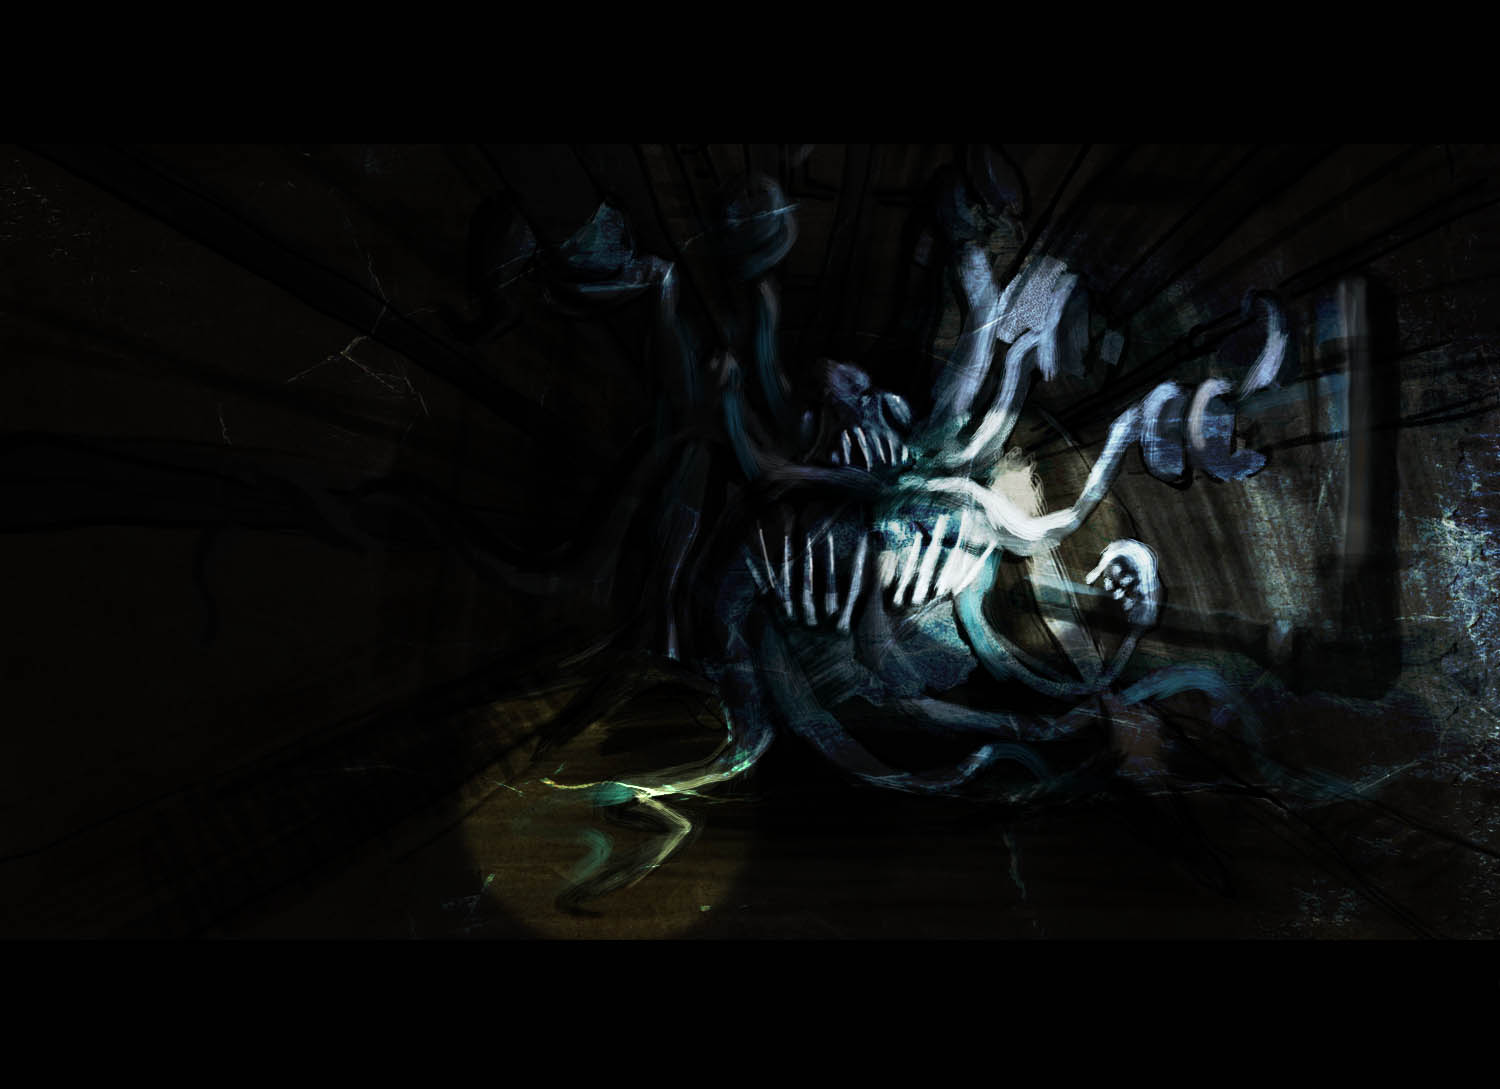
Rough Mood Concept for ‘Horror in the Pacific’
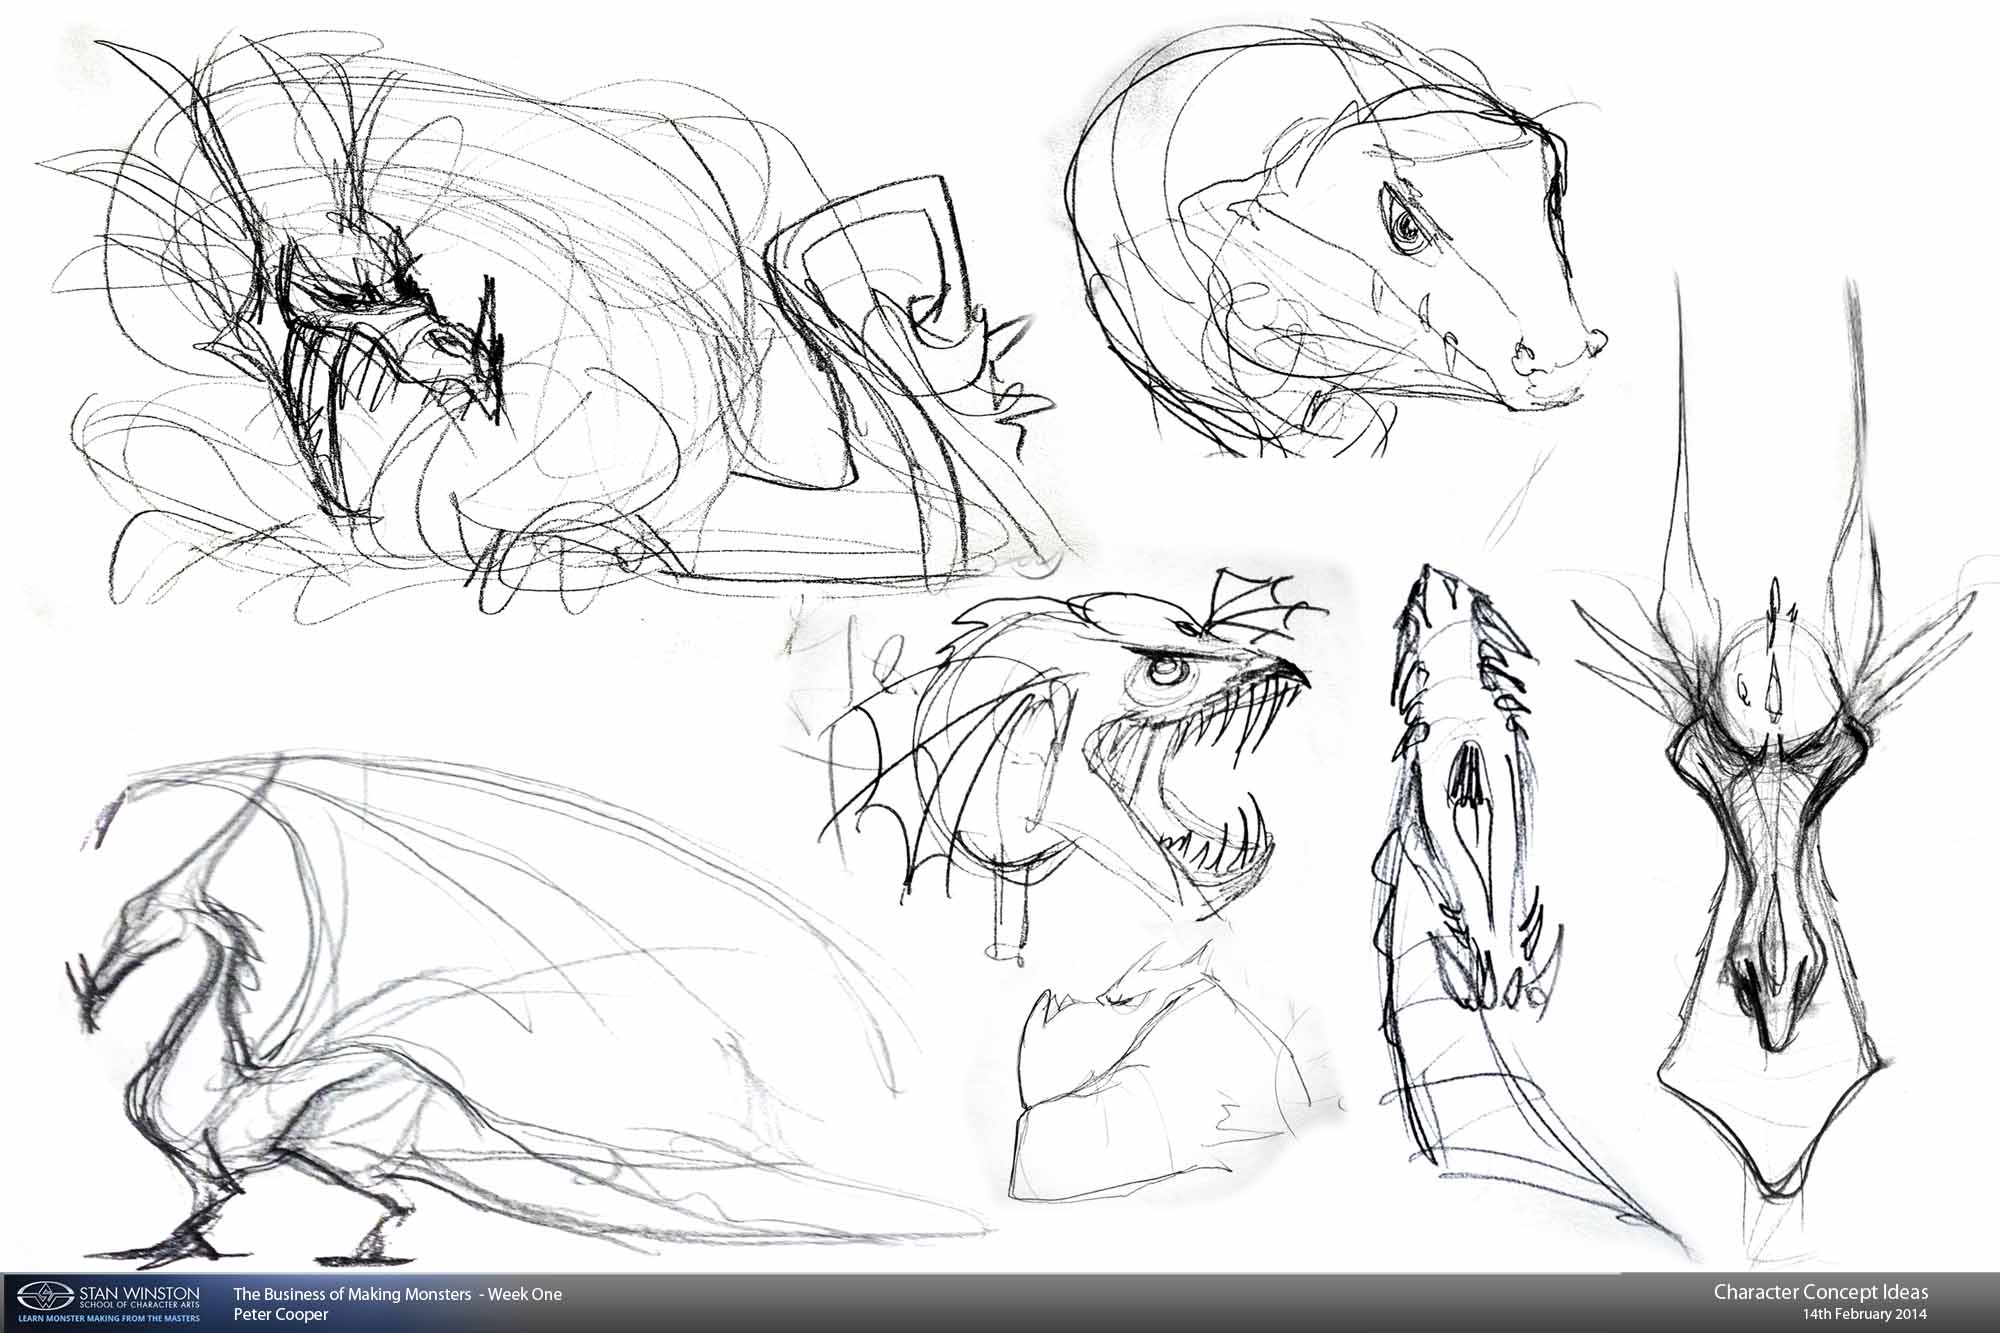
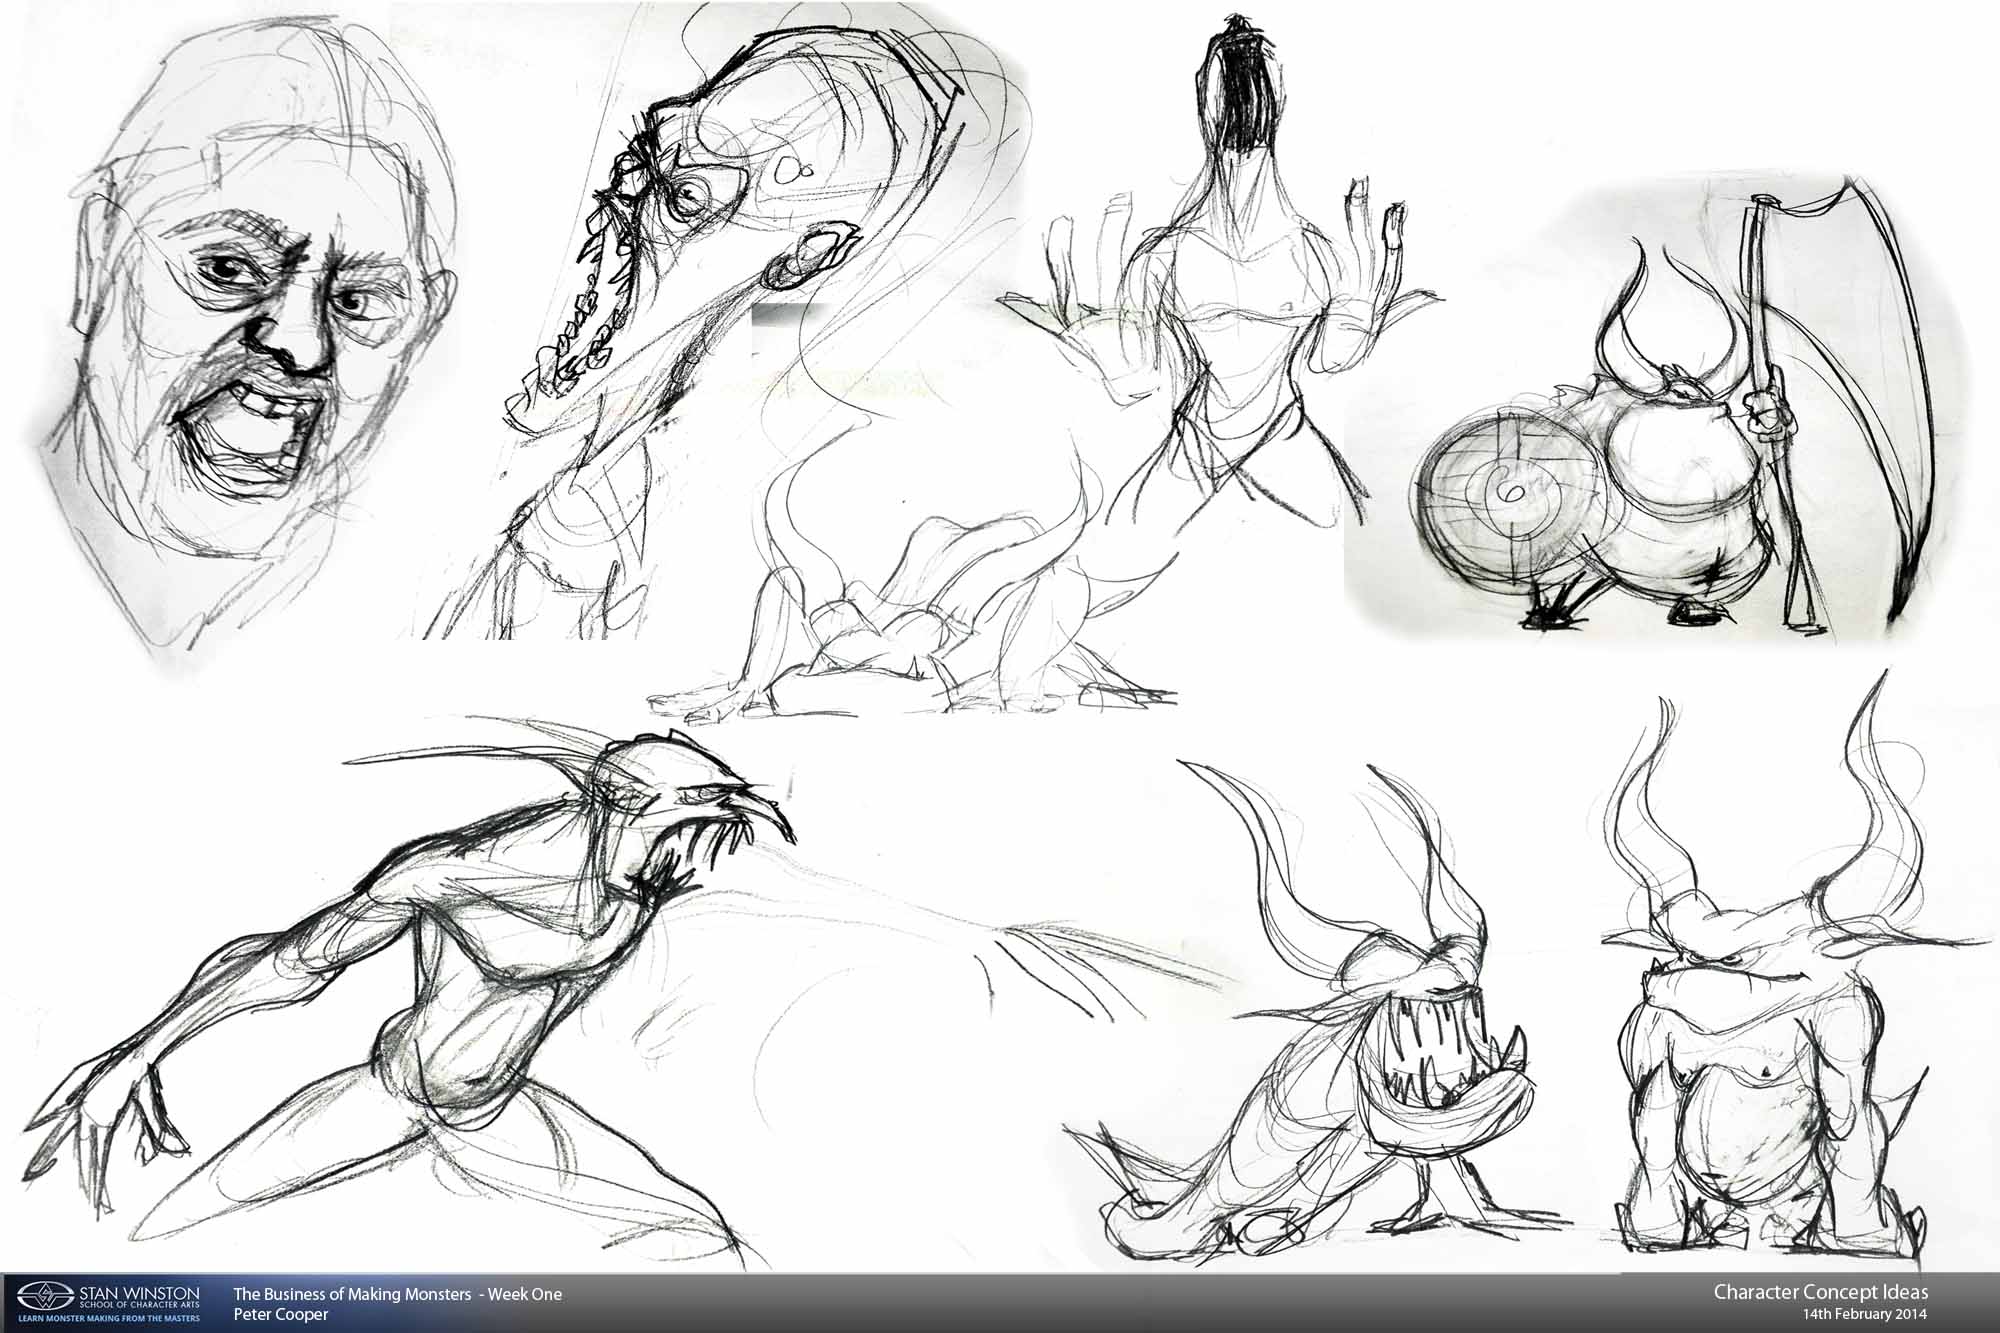
Been busy this week working through some concept drawings, in the build up to our first homework assignment. I can’t seem to stray away from demons, monsters and dragons… but that’s okay… !


Developing the foundation forms on this guy further. I’m almost ready to re-topo and begin adding secondary details.

I’ve been pushing on the hard surface side of things during the holiday period. I tried another attempt at a spacecraft sort of design utilizing hardsurface techniques. I’m getting the hang of it now and I’m getting a better handle on polishing tools. Through Ryan’s Zbrush Certification course, I was also exposed to IMMs. (Insert mesh brushes). I’ve been exposed to these guys for a good while now but it’s been recently that I’ve started to figure them out better, both for kit bashing and adding details. I must say, I didn’t think I’d be creating hard surface models within Zbrush anytime soon! I had a lot of fun designing the main hull with panel loops etc. The undercarriage design on this ship was fun to, I used nothing but IMMs for that. The whole piece is 100% Zbrush.
 Ship Design Concept. (WIP)

This creature has gone through its paces! It’s gone from ‘GoatTroll’ to a sinister larve/insectoid ‘thing’. I’m still working out the main forms currently and playing with its design. Not sure what this fella’s background is yet, I’m making it up as I go along. I know this however, he/she will NOT let go once it grabs hold… so, watch out! More to come soon.


I’m totally delighted with the outcome of my very first 3D printed creature. I’ve taken some snapshots of the 3D print ( Please See below).
It has maintained more detail than I thought despite being polished. Pointed areas (barely one pixel thick!), such as the teeth and the tops of the main horns, I’ll need to make sure in future they are slightly wider, the 3D printer needs more to chew on in that area. One of the reasons I chose this creature for a print test was because of his plethora of teeth and skinfold detail, it seemed like a good candidate for a print test.
Overall I’m happy. This was a successful bench test and he’s a good size to! The next thing I’ll be experimenting with is hollowing out the inside of the model. This means cheaper costs since essentially you use less material. 3D colour texturing and colour printing is another area I want to explore further.
The Creature design is in my Shapeways ‘shop’ currently, but private. I’m so excited and happy with the results so far. It’s very cool being able to handle something physically, that was sculpted inside the computer. I’m now thinking about making a series of creatures for my Shapeways Shop specifically. Exciting times lay ahead!
– The model should be less than 1 million Polygons.
– I aimed at around 400,000 polygons for my creature bust
– The file size should not exceed 64mb
– I used the .STL format, utilising both Zbrush and Lightwave 3D
– There should be no overlapping polygons. Intersection of objects is ok, so long as they are water tight and ‘manifold’
– Decimation master in Zbrush is perfectly suited to getting polygon count down to where it needs to be regarding preparing for print.
The following images show my creature in it’s full 3D printed glory. I used the ‘Strong and Flexible’ plastic material via Shapeways, but it feels much more like a ceramic material. Sounds like it to when you give it a good tap. I had this fella polished. The detail was maintained well. He needs a display stand. I had a 3D stand built into the original geometry of the creature, but to save on printing costs, the stand had to go. I’ve also been told I should give this guy a paint job.
For reference to my earlier creature design that this 3D print is based on, see my post from back in late November. I’ve been told he looks like a Goat Troll, Nice!
Following invaluable crit time with the amazing Peter Konig on Zbrushworkshops, this particular character concept has gone through a radical redesign regarding his fundamental forms, expect an update on that very soon.
Enjoy the pictures! (I’ll look to get better ones up soon, these are alittle on the blurry side)


